Ironing technique & fixing mistakes
Directly relevant to uniform standards in Module 0.
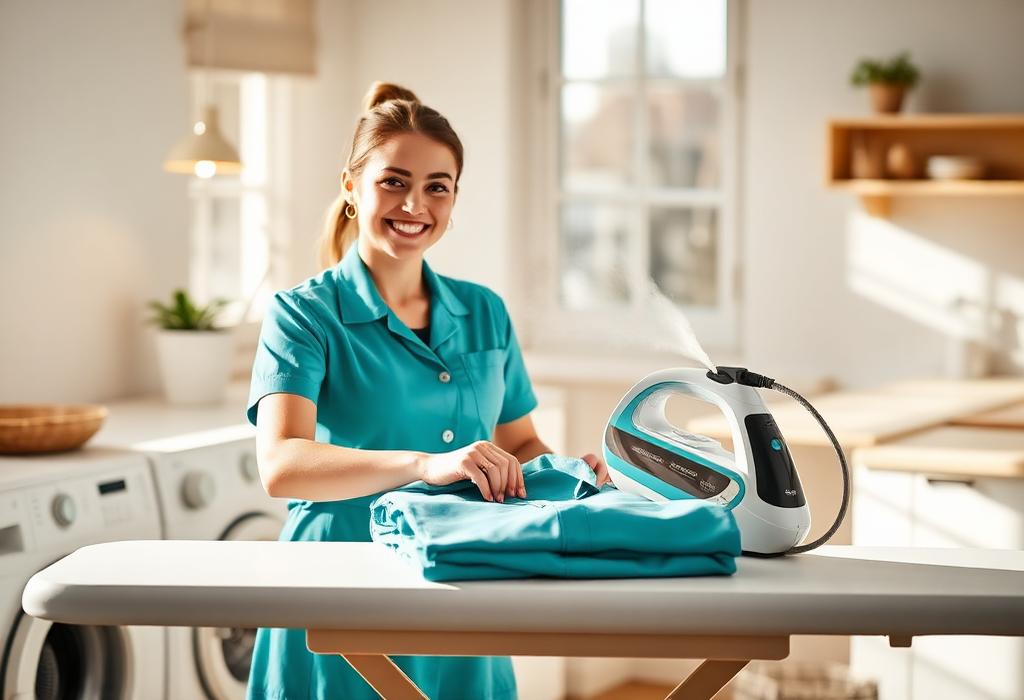
What to have ready
- Iron (clean plate)
- Ironing board
- Distilled water
- Spray bottle
- Clean white cloth
Steps
- 1
Sort garments by the care label dots: one dot = cool, two = medium, three = hot. Check the iron plate is clean — a dirty iron marks clothes.
- 2
Fill the iron with water, distilled if you have it, to avoid chalky buildup.
- 3
Start on the coolest setting with the coolest garment and work upward — heating an iron is quick, cooling it is not.
- 4
No steam iron? Mist the garment lightly with water, or take items out of the dryer slightly damp.
- 5
Iron with a slow, steady W-pattern and moderate pressure. Keep the iron moving so you never scorch the fabric.
- 6
Use the pointed tip for collars, cuffs and pockets. Never iron over metal or plastic fittings.
- 7
Delicate or shiny-prone fabric: put a really clean white dish towel or pillowcase between the iron and the garment.
- 8
Hang each garment straight away when it is done.
- 9
FIXING MISTAKES — ironed a wrinkle in? Spray it with water and iron it again. Shiny gleam on the fabric? Stroke it out with a red lint brush, or wipe with a damp clean white cloth.
- 10
Empty the reservoir after every ironing session — stagnant water is what stains clothes later.
Slide a sheet of aluminium foil under the board cover: it reflects heat back through the garment and halves your time.
Listen while you work
Added — shows a person doing the step
Queued for the video phase